Device overview
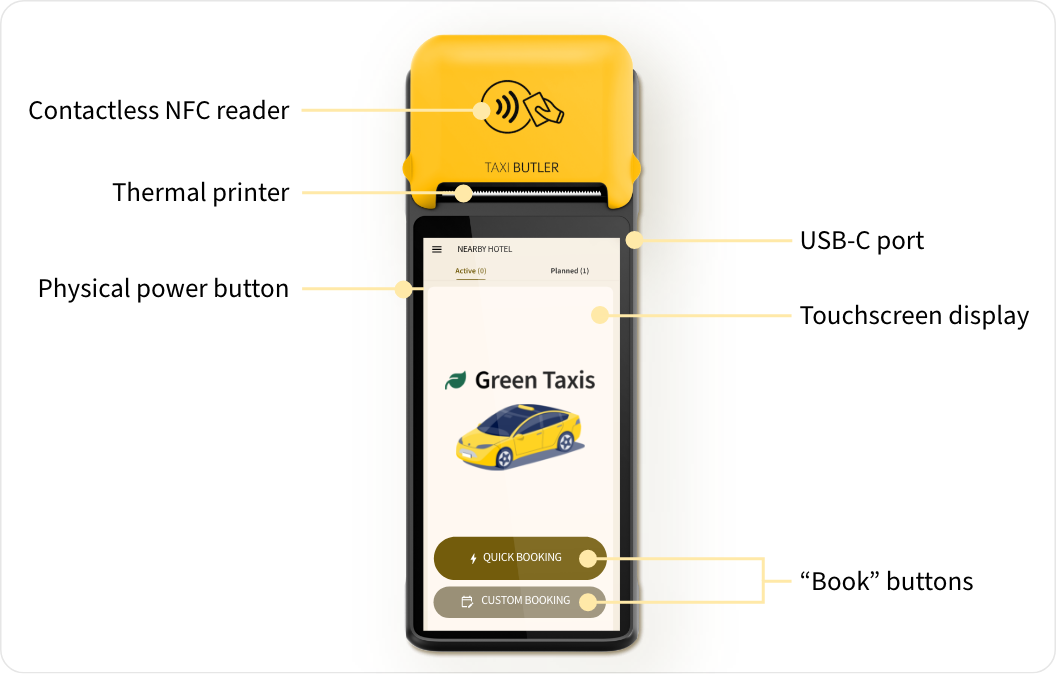
- A 6” touchscreen to book, manage and track taxis
- A contactless NFC reader for accepting payments
- A thermal printer for printing confirmation tickets
- A physical power button
- A USB-C port for charging the battery
- Built-in Wi-Fi and SIM card for connecting to the internet
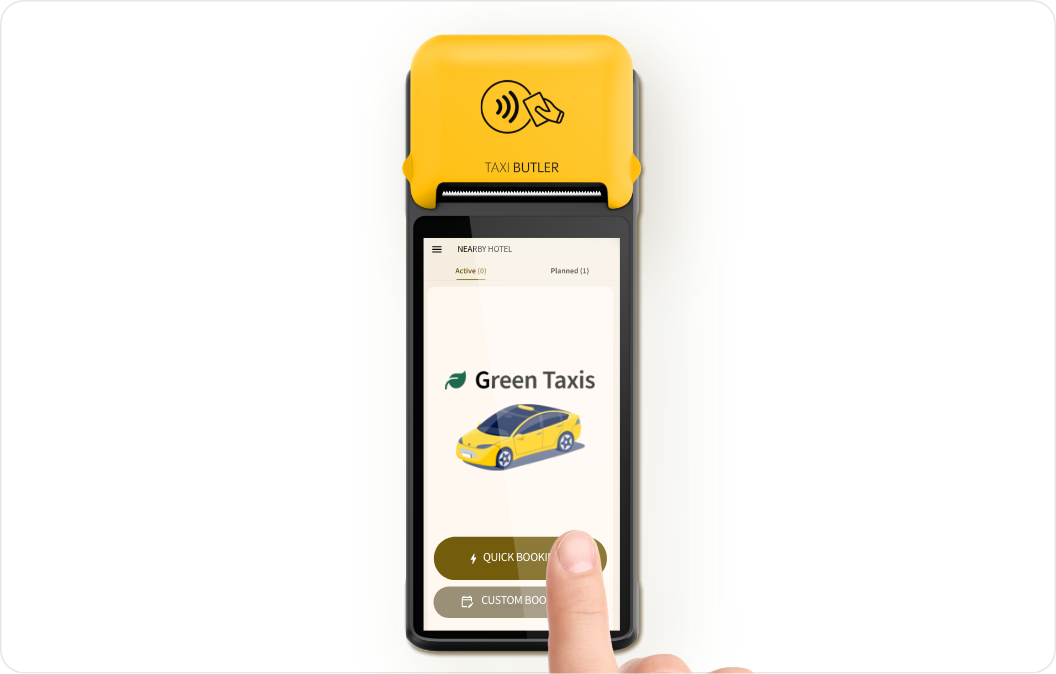
How to book a taxi
1
Press the button to start booking
Venue staff can be anyone who works inside a hotel, bar, restaurant or any other public business in which the device is placed and used to book taxis on behalf of guests.
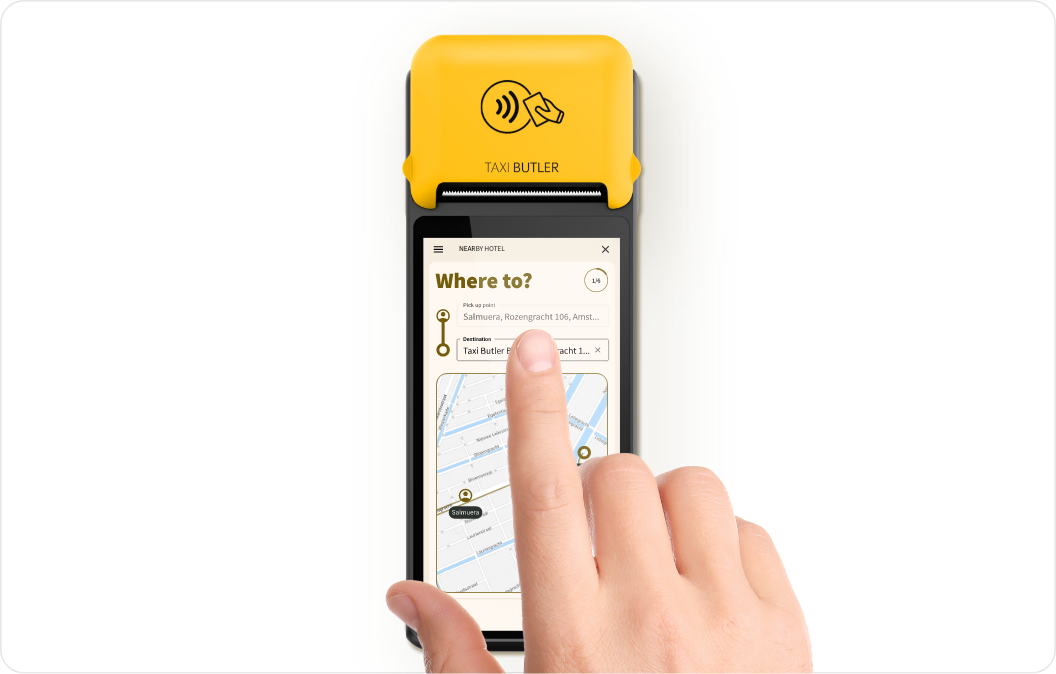
2
Enter booking and guest details
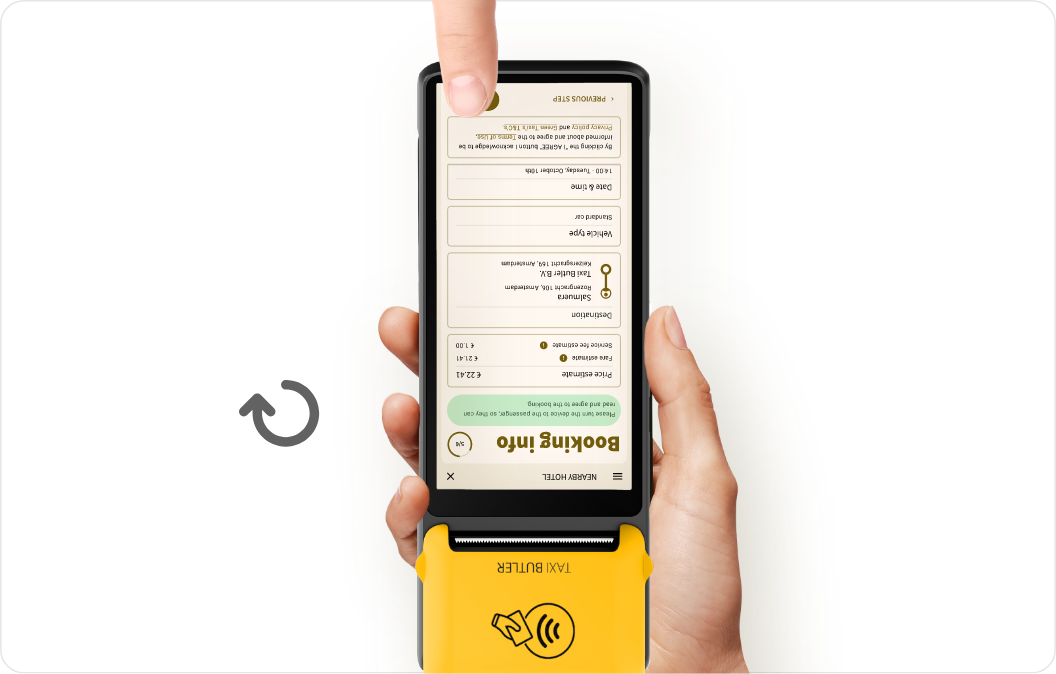
3
Turn the device to face the guest
4
Choose a payment method
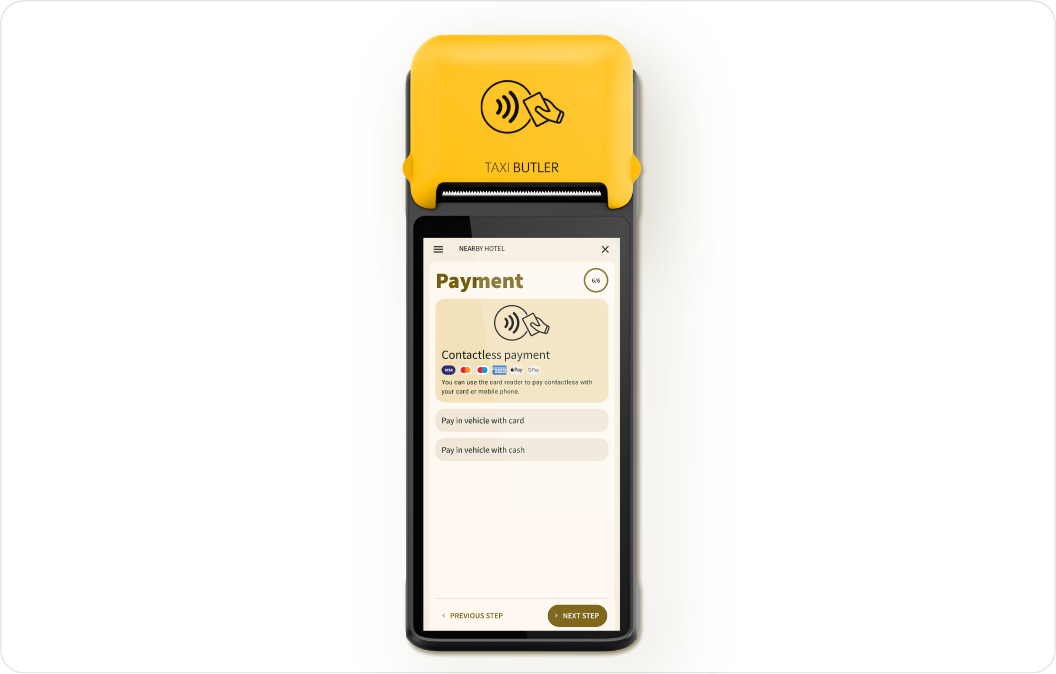
5
The guest's booking is confirmed!
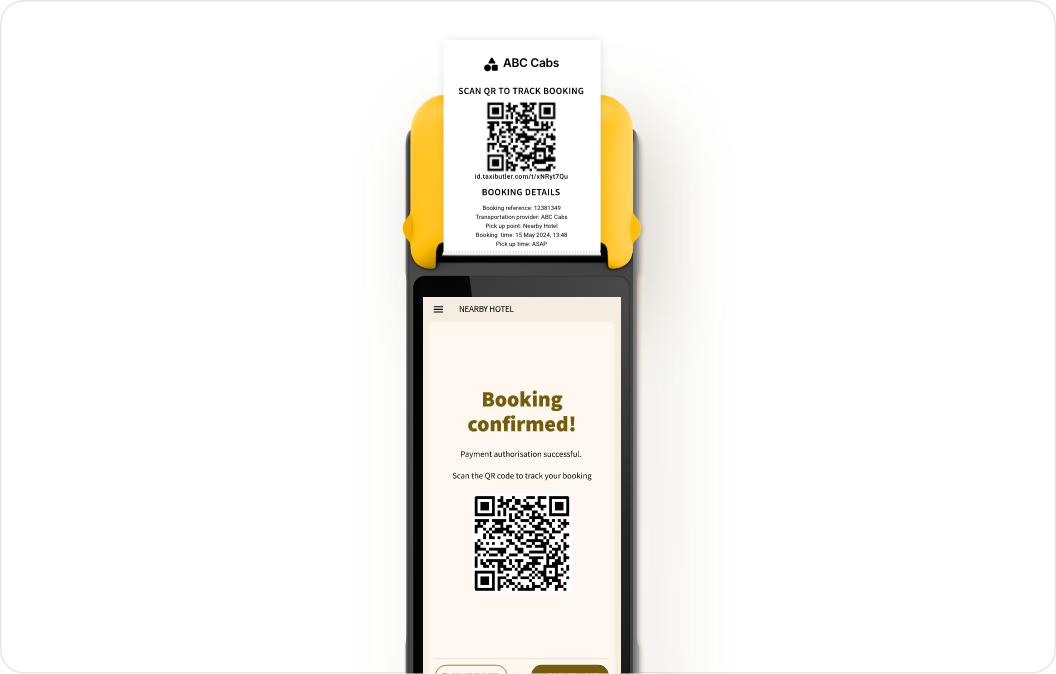
How to track a booking
To track taxis, passengers can scan the QR code on the printed ticket that takes them to the Mobile Booking Tracker on their mobile phone. From this interface, passengers can track, manage and cancel their taxi, find application terms & conditions and contact the transportation provider. The taxi tracking QR code will also appear as soon as the booking is confirmed on-screen. Venue staff can track a booking on the device itself by clicking on an active or planned booking. See below for more information.How to manage bookings
To manage a booking, venue staff can use the Active and Planned booking tabs at the top of the screen. From there, they can press on a specific booking to track the taxi on the map, print a ticket again, or cancel the booking.The Planned tabs will only show when there is at least one Planned booking.
Additional information
How to power-on & off the device
To power on the device, press and hold the power button for 2-3 seconds when the device is OFF. To power off the device, press and hold the power button for 2-3 seconds when the device is ON.Before switching on your Taxi Butler PLUS for the first time, remove the battery cover on the back of the device, pull out the plastic tab, then put the cover back on.
Unlocking the screen
In some cases, the device’s screen may lock itself after a period of inactivity. To unlock it, simply enter the code “1234” when prompted to do so and press on the “checkmark” button on they keyboard.How to connect the device to a Wi-Fi network
The Taxi Butler PLUS comes with a built-in SIM card. It’s highly recommended to use a local Wi-Fi network when possible. To connect the device to a Wi-Fi network, simply press on the Menu icon, then press on “Connect to Wi-Fi” at the bottom of the menu. You can select a network and enter the correct password to connect.How to change the device language
To change the interface language, simply press on the Menu icon, then press on “Language” at the bottom of the menu. You can select a language from the list.How to replace the thermal printer paper roll
- Lift up the printer cover using the edges on the sides of the device
- Remove the old roll if necessary. Put a new thermal paper roll (58mm width, ⌀40mm / 2 1/4” x 1 5/8”) in place and pull some paper outside the cutting area
- Close the printer cover and remove any excess paper
Safety precautions
- Only charge the device using the correctly rated power
- Do not use the device in presence of potentially explosive gas
- Do not open the power adapter
- Only use power adapters that support QC3.0, AFC, USB PD 3.0 protocols
- Do not replace or dissamble the battery
- Do not use the device during thunderstorms
- Turn off the device if it is malfunctioning or behaving strangely
- Be careful when handling the thermal paper rolls as the paper cutter is sharp
- Do not use the device near water or moisture
- Do not drop, throw or bend the device
- Avoid using the device in dusty or dirty conditions
- Do not use the device near medical equipment
- Do not change, modify or tamper with the hardware or software of the device
- Taxi Butler will not be held liable for damages caused by improper use or maintenance of the device
- Taxi Butler will not be held liable for damages caused by unapproved accessories