Bookings modes
Booking Modes can be configured in the PORTAL on the Venue page. The modes change automatically based on how you set up the device configurations & options.Booking modes are only available for the Taxi Butler PLUS.
| Home screen buttons | Configuration | |
|---|---|---|
| Quick booking only | ”QUICK BOOKING” | No fields are visible (or required) |
| Quick & Custom bookings | ”QUICK BOOKING” / “CUSTOM BOOKING” | Some fields are only visible, and some are both visible and required |
| Full booking | ”BOOK TAXI NOW” | All fields are both visible and required |
| Quick & Paid bookings | ”QUICK BOOKING” / “BOOK AND PAY” | Some fields are only visible, and some are both visible and required, and Taxi Butler PAY is enabled |
Quick Booking only
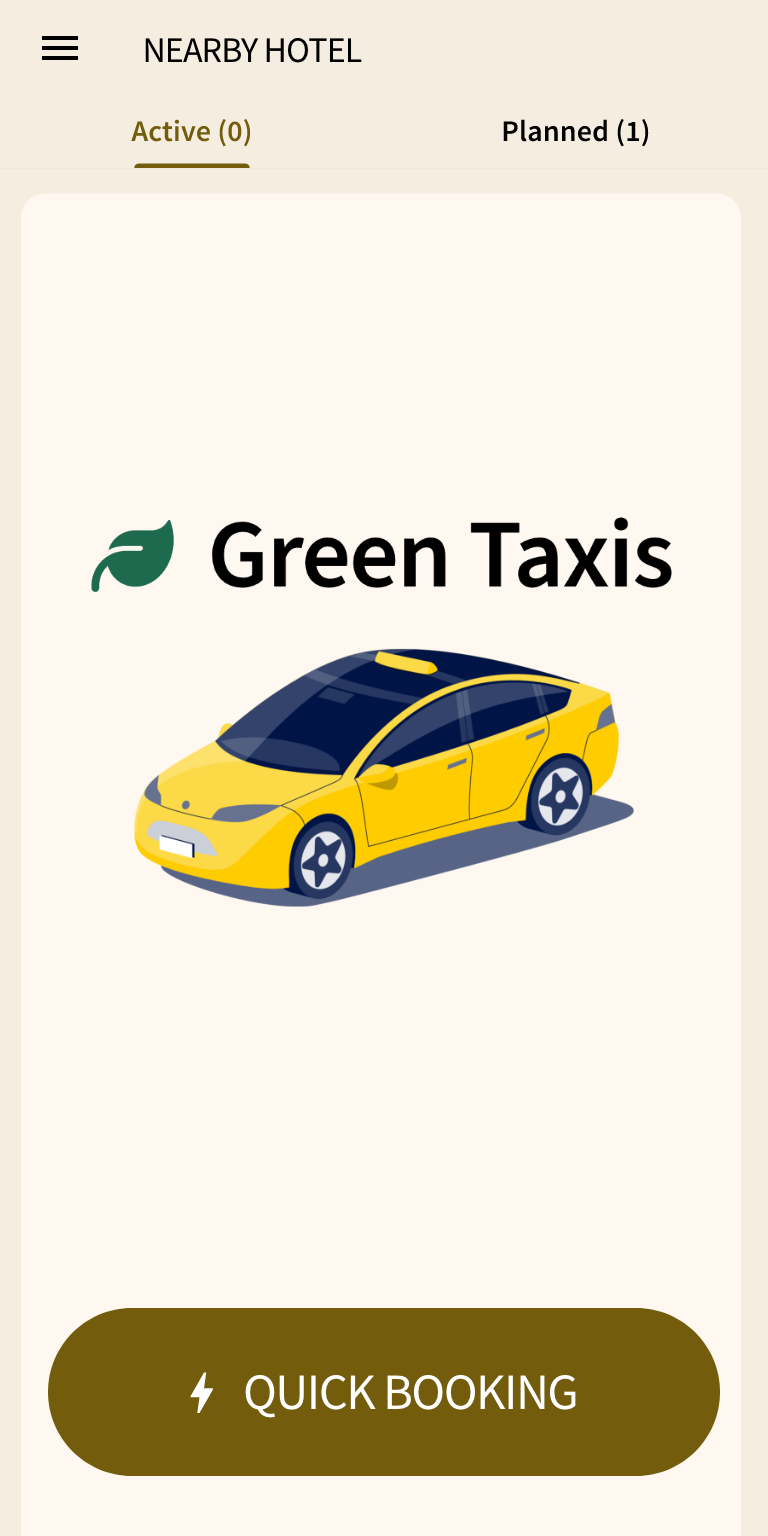
If no fields are visible (or required), only a “QUICK BOOKING” button will appear on the home screen of the device and it will book a taxi instantly and print a ticket, just like the Taxi Butler ONE.Configuration example
Configuration example
Example of the device configuration in the PORTAL
Example of the home screen on the device
| Visible? | Required? | |
|---|---|---|
| Taxi types | ☐ | ☐ |
| Payment types | ☐ | ☐ |
| Future bookings | ☐ | ☐ |
| Destinations | ☐ | ☐ |
| Passenger name | ☐ | ☐ |
| Passenger phone | ☐ | ☐ |

Quick & Custom bookings
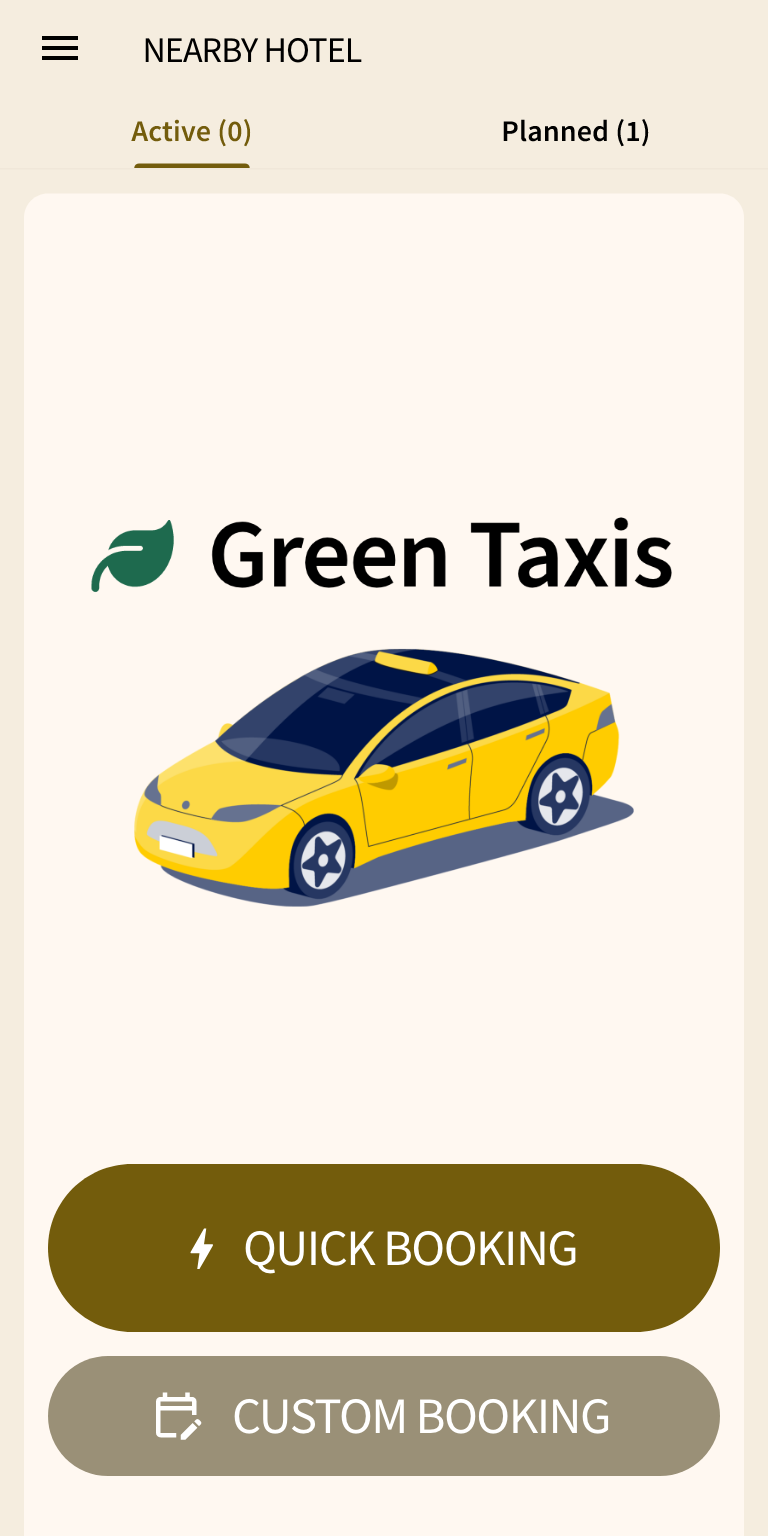
If some fields are visible and required, and other fields are only visible, a “QUICK BOOKING” button and a “CUSTOM BOOKING” button will appear on the home screen of the device. For almost all fields that are marked as visible only, a “SKIP” button will be visible in the step, allowing the user to skip to the next field easily without inputting any information. This excludes the “Taxi types” and “Future booking/Date & time” fields, where the user will have to choose an option. For the “Taxi types” field, the default option will be used if the field is set only to “visible”.Configuration example
Configuration example
Example of the device configuration in the PORTAL
When a user presses the “QUICK BOOKING” button, the device will take them through only the required fields.
| Visible? | Required? | |
|---|---|---|
| Taxi types | ☑ | ☑ |
| Payment types | ☐ | ☐ |
| Future bookings | ☐ | ☐ |
| Destinations | ☑ | ☐ |
| Passenger name | ☑ | ☑ |
| Passenger phone | ☐ | ☐ |
- Taxi types
- Passenger name
- Booking info
- Taxi booked
- Taxi types
- Destinations (with option to skip)
- Passenger name
- Booking info
- Taxi booked

Full booking
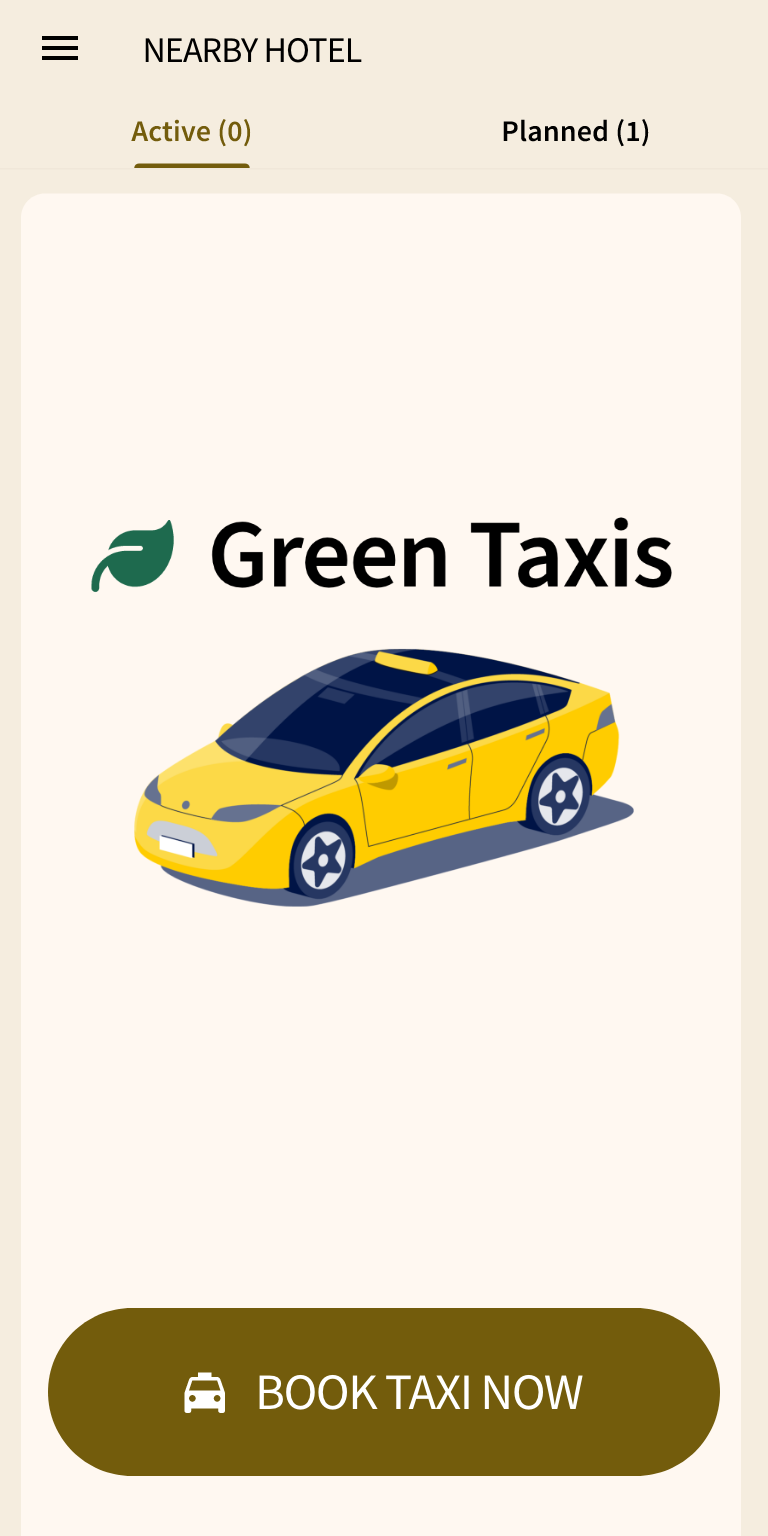
If all visible fields are also required, only a “BOOK TAXI NOW” button will appear, and take the user through the booking process with all the configured fields.Configuration example
Configuration example
Example of the device configuration in the PORTAL
Example of the home screen on the device
| Visible? | Required? | |
|---|---|---|
| Taxi types | ☑ | ☑ |
| Payment types | ☑ | ☑ |
| Future bookings | ☑ | ☑ |
| Destinations | ☑ | ☑ |
| Passenger name | ☑ | ☑ |
| Passenger phone | ☑ | ☑ |

Quick & Paid bookings
Summary
When Taxi Butler PAY is enabled, “Contactless Payment” becomes available for the taxi company. As indicated in the device configurations & options table, both the taxi type and destination fields are required to calculate a fare estimate and enable on-device payments through Taxi Butler PAY. For “Contactless payments” to work, a fare estimate must be calculated. This can be retrieved from the dispatch system when a destination has been entered AND a taxi type has been selected.How Taxi Butler PAY works with Booking modes
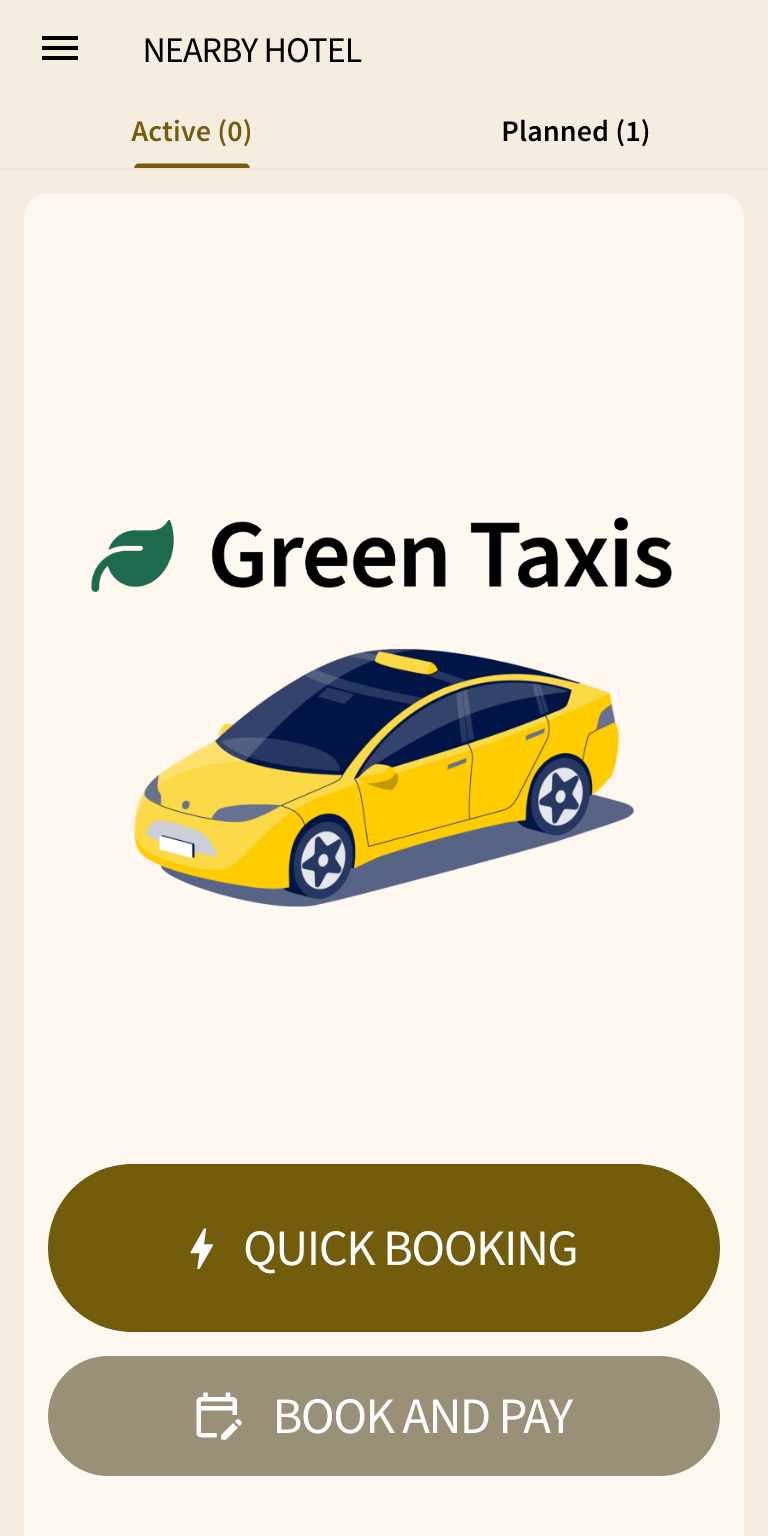
Similarly to the other configurations & options, “Payment types” will only be displayed in Quick Booking if the “Payment types” options are set to required. “Payment types” will be displayed in Custom booking when it is set to visible. If some fields are visible and required, and other fields are only visible, a “QUICK BOOKING” button and a “BOOK AND PAY” button will appear. When a user presses the “QUICK BOOKING” button, the device will take them through only the required fields. When a user presses the “BOOK AND PAY” button, the device will take them through all the visible fields, including the “Payment types” step. Example of the home screen on the device
Configuration example #1
Configuration example #1
Example of the device configuration in the PORTAL
In the example above, when a user presses the “QUICK BOOKING” button, the device will take them through only the required fields.
| Visible? | Required? | |
|---|---|---|
| Taxi types | ☑ | ☑ |
| Payment types | ☐ | ☐ |
| Future bookings | ☐ | ☐ |
| Destinations | ☑ | ☐ |
| Passenger name | ☑ | ☐ |
| Passenger phone | ☐ | ☐ |
- Taxi types
- Booking info
- Taxi booked
- Destinations (with option to skip)
- Taxi types
- Passenger name (with option to skip)
- Booking info
- Taxi booked
Configuration example #2
Configuration example #2
Example of the device configuration in the PORTAL
If the user presses the “QUICK BOOKING” button, the device will show the following flow:
| Visible? | Required? | |
|---|---|---|
| Taxi types | ☑ | ☑ |
| Payment types | ☑ | ☐ |
| Future bookings | ☐ | ☐ |
| Destinations | ☑ | ☑ |
| Passenger name | ☑ | ☐ |
| Passenger phone | ☐ | ☐ |
- Destinations
- Taxi types
- Booking info
- Taxi booked (default to the first non-PAY “Payment type”)
- Destinations
- Taxi types
- Passenger name (with option to skip)
- Booking info
- Directed to the “Payment” page
- Taxi booked

